
Key Takeaways:
- Proper wood preparation prevents peeling, uneven staining and poor varnish adhesion.
- Cleaning, sanding and drying timber thoroughly helps achieve a smooth, lasting wood finish.
- Removing damaged or incompatible coatings allows wood stain to absorb more evenly.
- Wood stain adds colour, while a compatible sealer or varnish provides additional protection.
- Choosing the right wood coating depends on moisture exposure, sunlight and intended use.
- Applying varnish to damp or poorly prepared wood can cause blistering and premature coating failure.
Understanding How to Prepare Wood for Varnish and Staining
A beautiful wood finish starts long before you open a tin of varnish or stain. Whether you’re restoring wooden furniture, refreshing a door or protecting outdoor timber, proper preparation helps prevent peeling, uneven colour and poor adhesion.
Understanding how to prepare wood for varnish or staining ensures the surface is clean, dry and ready to accept its new coating.
In this guide, Colortone explains how to remove old finishes, prepare timber and choose between wood varnish, wood stain and other protective coatings.
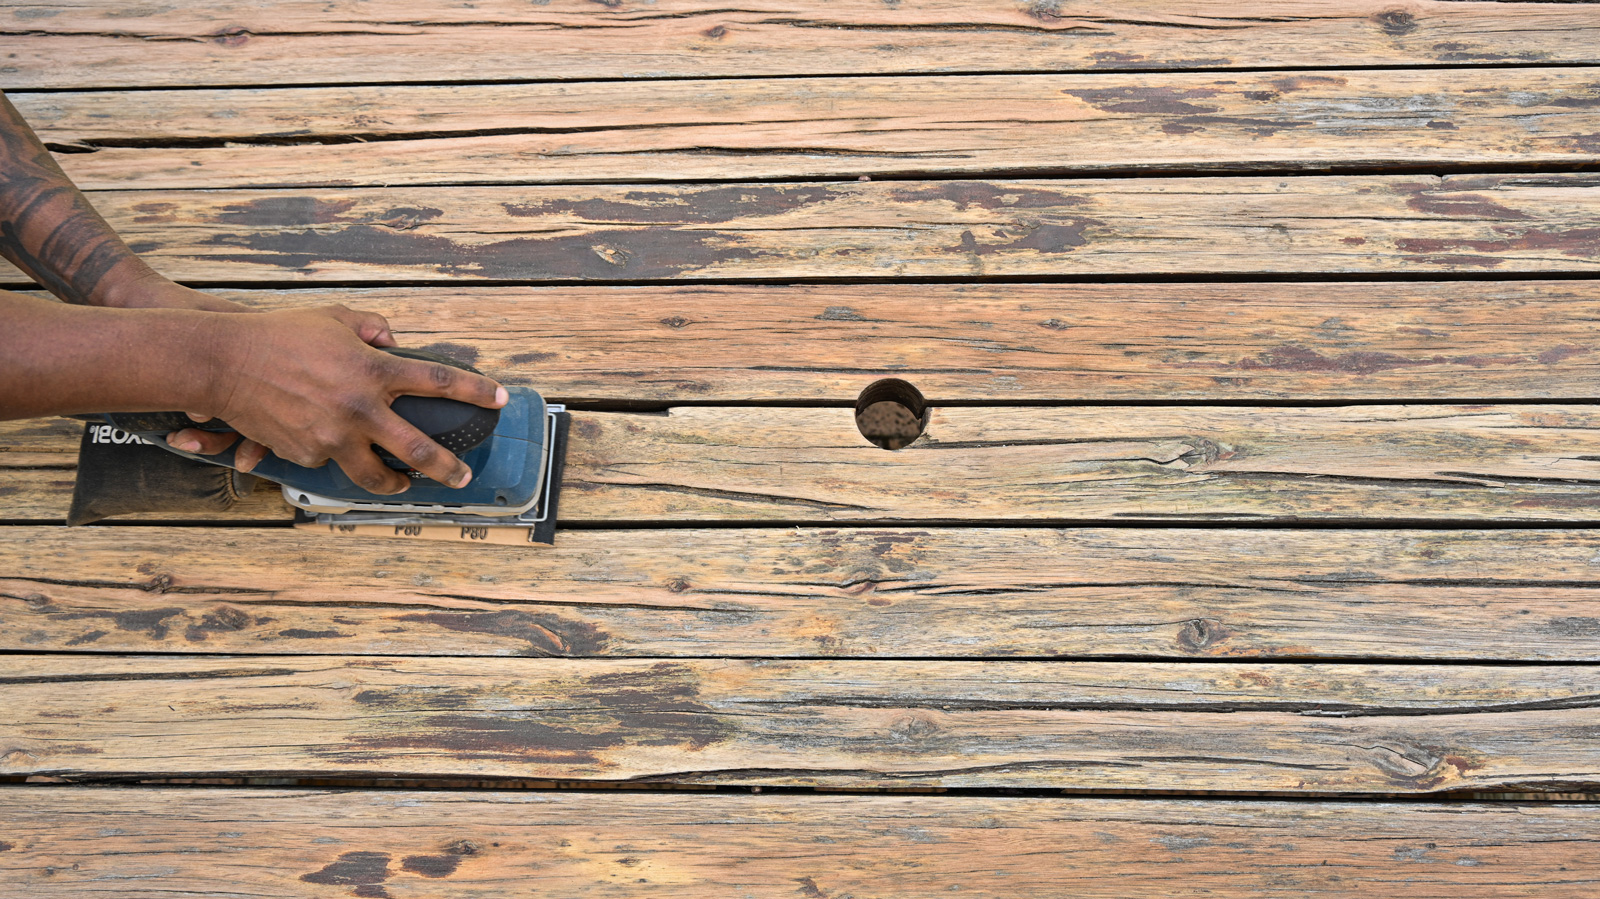
How to Prepare Wood for Varnish: Step-by-Step Guide
Whether you’re working with new timber or restoring an existing surface, these preparation steps help create a suitable foundation for staining or varnishing.
| Tip: Before getting started, make sure you have everything you need, including a soft brush or vacuum, a suitable cleaning product, sandpaper, lint-free cloths, protective equipment and, if necessary, a wood-safe paint stripper. |
Step 1: Inspect the timber for moisture, damage and old coatingsStart by checking the surface for damage, moisture, dirt and existing finishes. Look for:
Repair damaged areas and address any moisture problems before continuing. If the wood already has a coating, determine whether it can be recoated or needs to be removed. |
Step 2: Clean away dirt, grease and mildewDust, grease and dirt can prevent wood varnish and stain from adhering or absorbing evenly. Remove loose dirt with a soft brush or vacuum, then clean the surface using a method suitable for the timber and existing finish. Allow the wood to dry completely before sanding or applying any coating. For exterior timber, remove mildew and surface contamination using an appropriate wood-cleaning product. |
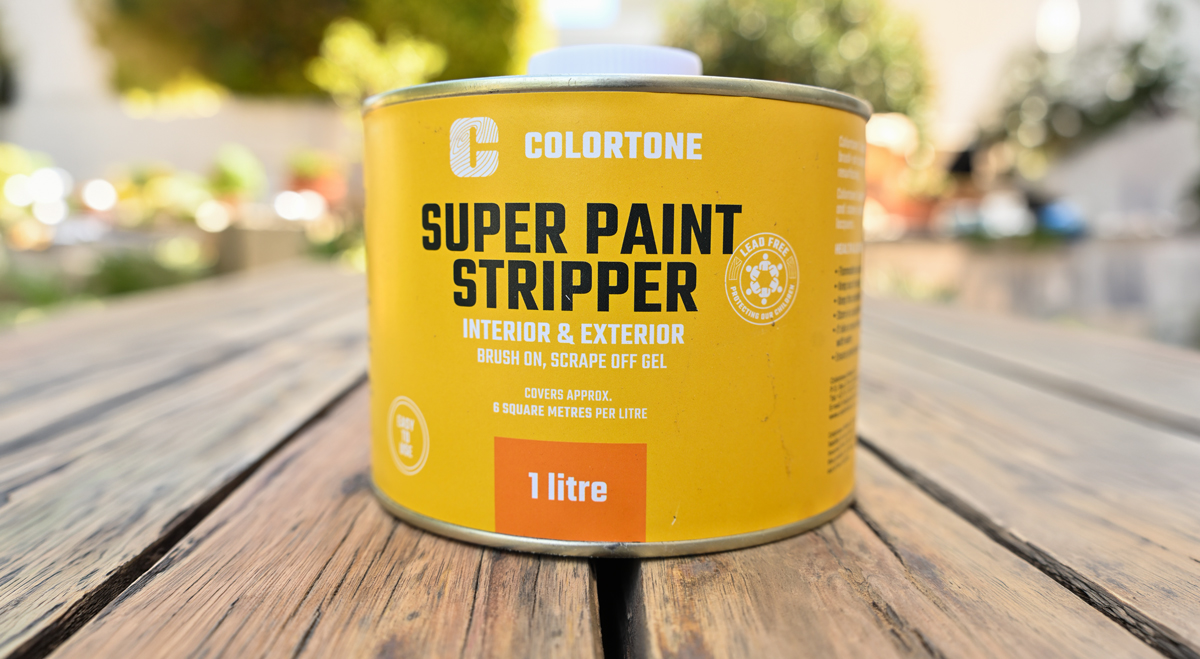
Step 3: Remove old paint or varnish where necessaryOld coatings may need to be removed if they are peeling, damaged or incompatible with the new finish. How to remove varnish from woodLight sanding may be enough for a sound, compatible finish, while damaged varnish or switching to a penetrating stain may require full removal. A suitable paint stripper for wood can help soften existing coatings for removal. Products such as Colortone Super Paint Stripper can be used to remove old paint, varnish and lacquer from wooden surfaces before refinishing. When using Colortone Super Paint Stripper:
|
Step 4: Sand with the grain for a smooth finishSanding removes rough fibres, smooths imperfections and helps prepare the timber for its new finish. For most general woodworking projects, start with a suitable medium-grit abrasive and progress to a finer grit as needed. Always sand in the direction of the wood grain to reduce visible scratches. |
Step 5: Remove sanding dust and check for moistureAfter sanding, vacuum the surface and wipe away remaining dust using a suitable lint-free cloth. Inspect corners, joints and detailed areas where dust can collect. Can you varnish wet wood? No. Applying varnish to damp timber can cause adhesion problems, cloudiness, blistering or premature coating failure. Allow the wood to dry to the moisture level required by the coating manufacturer before proceeding. |
How to Use Wood Stain on Prepared Timber
Understanding how to use wood stain helps you achieve a more consistent colour while retaining the natural appearance of the grain.
Unlike many surface-forming varnishes, penetrating stains are designed to colour the timber by absorbing into its surface.
For the best results:
- Test the stain on an offcut or inconspicuous area.
- Stir the product according to its instructions.
- Apply evenly in the direction of the grain.
- Avoid overlapping areas that could create darker patches.
- Remove excess stain if required by the manufacturer.
- Allow the recommended drying time before further coats.
Different timber species absorb stain differently.
For interior furniture, cupboards and wooden frames, explore Colortone Wood Stain, available in a selection of colours to enhance the natural appearance of timber.
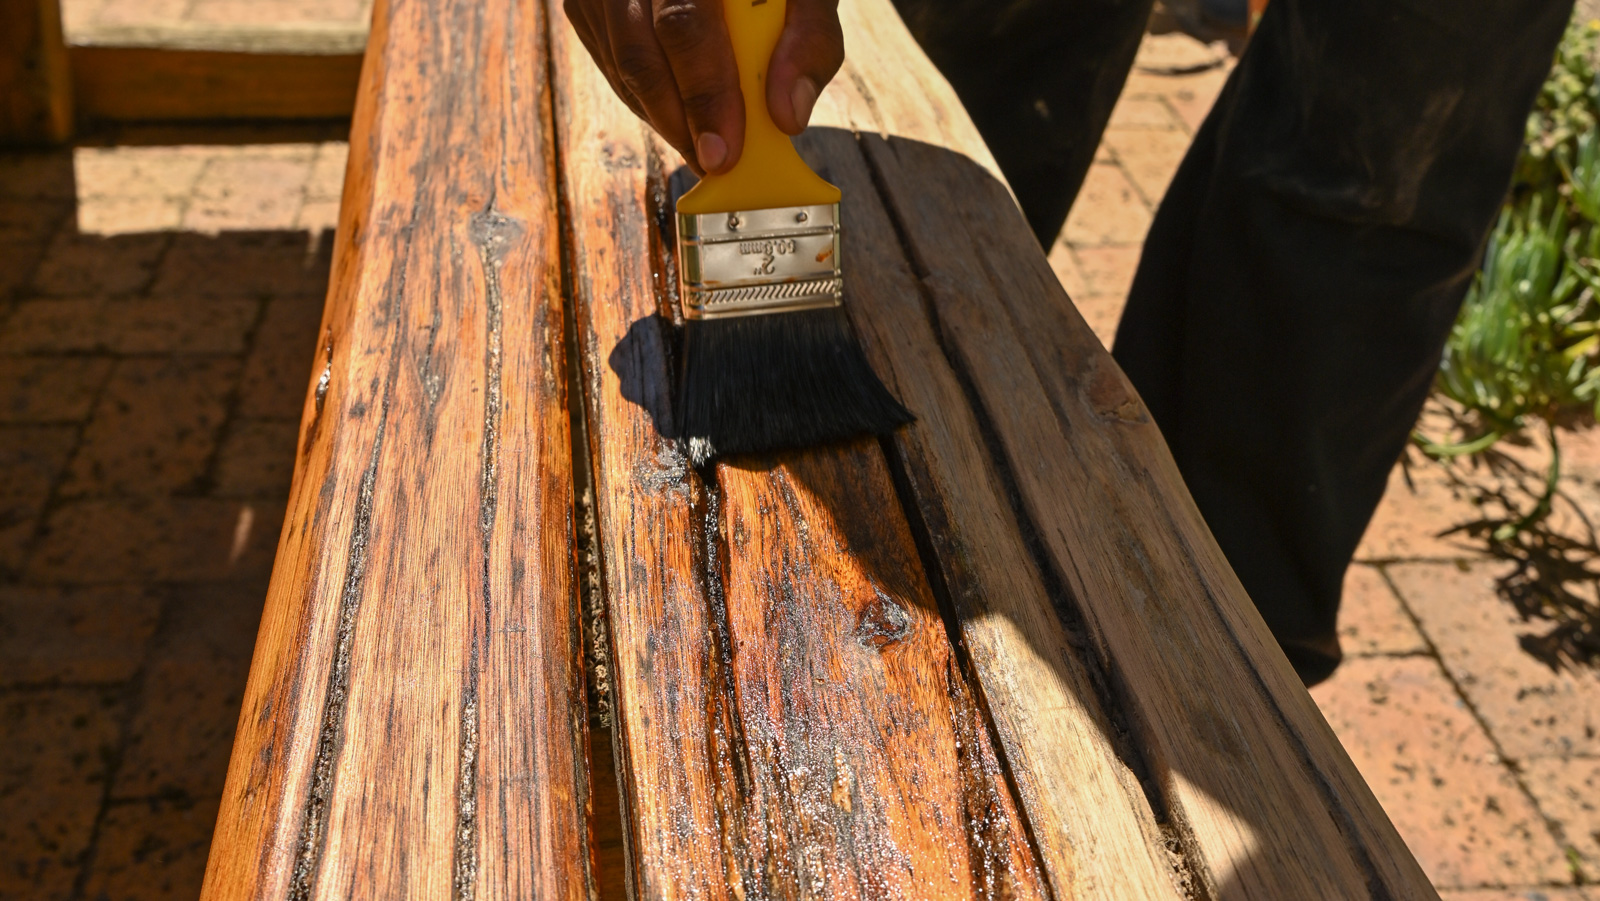
How to Stain and Seal Wood for Long-Lasting Protection
Knowing how to stain and seal wood involves understanding the difference between adding colour and protecting the surface.
A wood stain primarily changes the timber’s appearance, although some stain products also include protective properties.
A wood sealer or compatible protective topcoat may be required to improve resistance to moisture, wear and everyday use.
Before sealing stained wood:
- Confirm whether the stain requires a separate protective coating.
- Check that the stain and sealer are compatible.
- Allow the stain to dry for the specified period.
- Apply the recommended number of protective coats.
- Follow all recoating and curing instructions.
Not every staining system requires a separate sealer. Always check the manufacturer’s product recommendations before combining coatings.
For interior timber treated with Colortone Wood Stain, a compatible protective finish such as Colortone Wood Varnish or Floor Varnish can provide additional durability, depending on the surface and intended use.
Wood Coating Types: Choosing Between Wood Varnish, Stain and Sealer
Once the surface is properly prepared, the next step is choosing a finish suited to the timber’s location and intended use.
Different wood coating types provide different levels of colour, protection and surface appearance.
| Wood coating | Main purpose | Common Applications |
| Wood stain | Adds colour while allowing the grain to remain visible | Furniture, doors and decorative timber |
| Wood varnish | Forms a protective surface coating | Furniture, doors and interior timber |
| Wood sealer | Helps protect timber as part of a suitable coating system | Bare timber and prepared wood surfaces |
| Exterior wood coating | Provides protection suited to outdoor exposure | Fences, decks and outdoor furniture |
For wooden decks, product selection should also consider the timber type. Colortone Deck Varnish is formulated for softwood decking, while Deck Protector is designed for hardwood decks.
For outdoor timber, select products specifically formulated for exterior conditions rather than assuming any varnish or sealer will provide adequate protection.
Common Mistakes When Preparing Wood for Varnish
Even a high-quality coating can fail when the underlying timber has not been prepared correctly.
| Common mistake | Why It Matters |
| Applying varnish to damp wood | Can cause blistering, cloudiness or poor adhesion |
| Skipping sanding | May leave an uneven surface or reduce adhesion |
| Leaving sanding dust behind | Can create a rough finish |
| Staining over an incompatible coating | May prevent even stain absorption |
| Using the wrong wood sealer | Can cause compatibility or performance problems |
| Rushing between coats | May affect curing and the final appearance |
Taking time to prepare the surface correctly can reduce the need for costly repairs or premature refinishing.
Prepare Your Wood Properly With Colortone
Learning how to prepare wood for varnish or staining is the first step towards achieving a professional-looking finish.
From removing old coatings and sanding timber to selecting a suitable wood stain, wood sealer or varnish, every stage contributes to the final result.
Colortone offers wood finishing solutions for a variety of DIY and maintenance projects.
Explore our range of wood coatings and find the right products for your next project.
Explore Wood Finishing Products Contact Colortone
FAQs
Can you varnish wet wood?
No. Wet or damp wood can prevent varnish from adhering and curing correctly. Allow the timber to dry thoroughly and meet the manufacturer’s moisture requirements before applying a coating.
Do you need to sand wood before staining?
Usually, yes. Sanding removes rough fibres and helps create an even surface. However, the appropriate grit and preparation method depend on the timber species and stain being used. Explore Colortone’s wood stains to find a suitable finish for your project.
Can you apply wood stain over varnish?
Most penetrating wood stains need access to bare timber. Existing varnish can prevent absorption, so it generally needs to be removed before staining.
Do you need a wood sealer before varnishing?
Not always. Some varnishes are designed for direct application to prepared timber, while other systems require a compatible primer or sealer. Explore Colortone’s wood sealers and follow the manufacturer’s recommendations to determine whether a separate sealer is necessary.
What happens if you don’t prepare wood before varnishing?
Poor preparation can lead to uneven colour, rough surfaces, poor adhesion and premature coating failure. Cleaning, drying and sanding help create a suitable surface for a lasting finish.